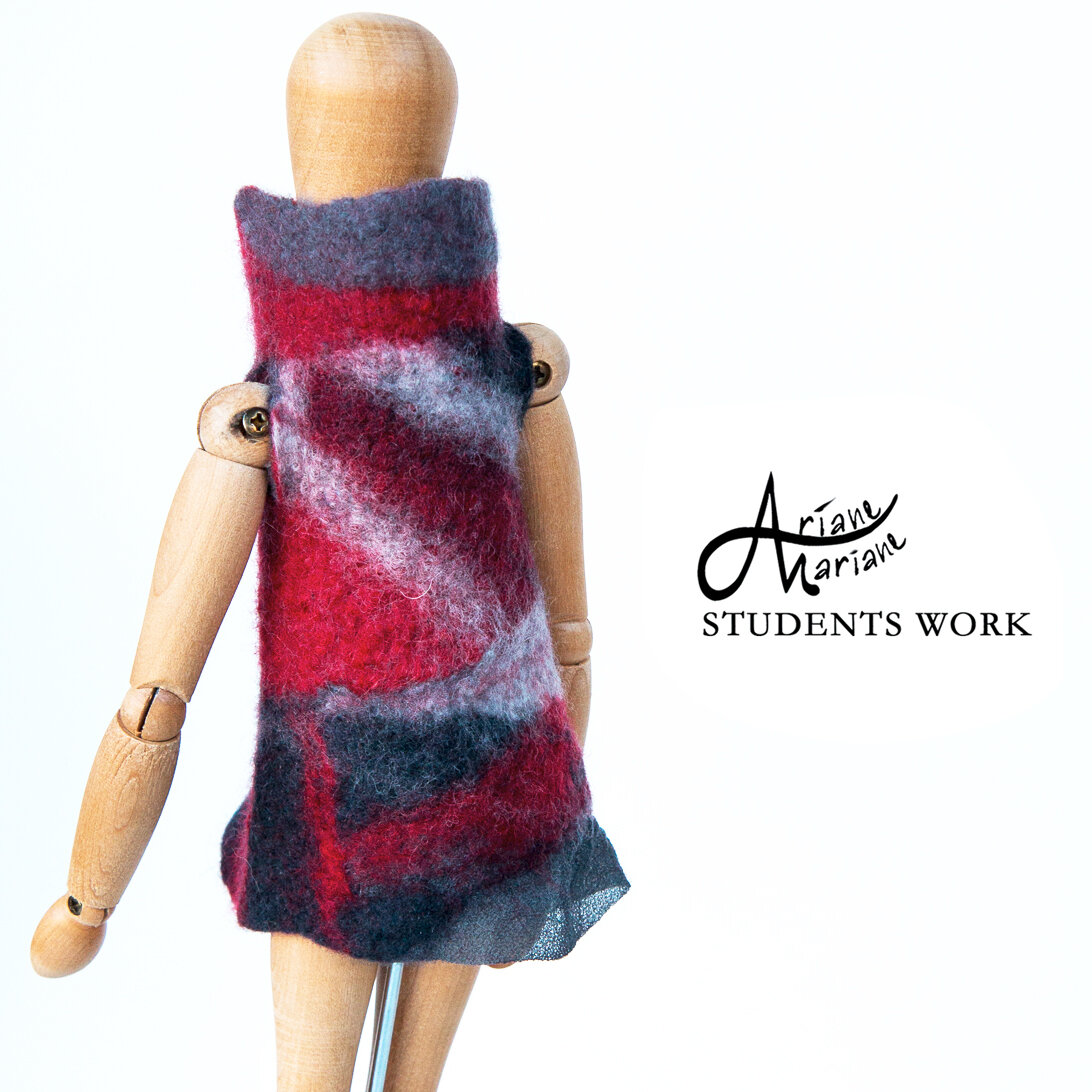
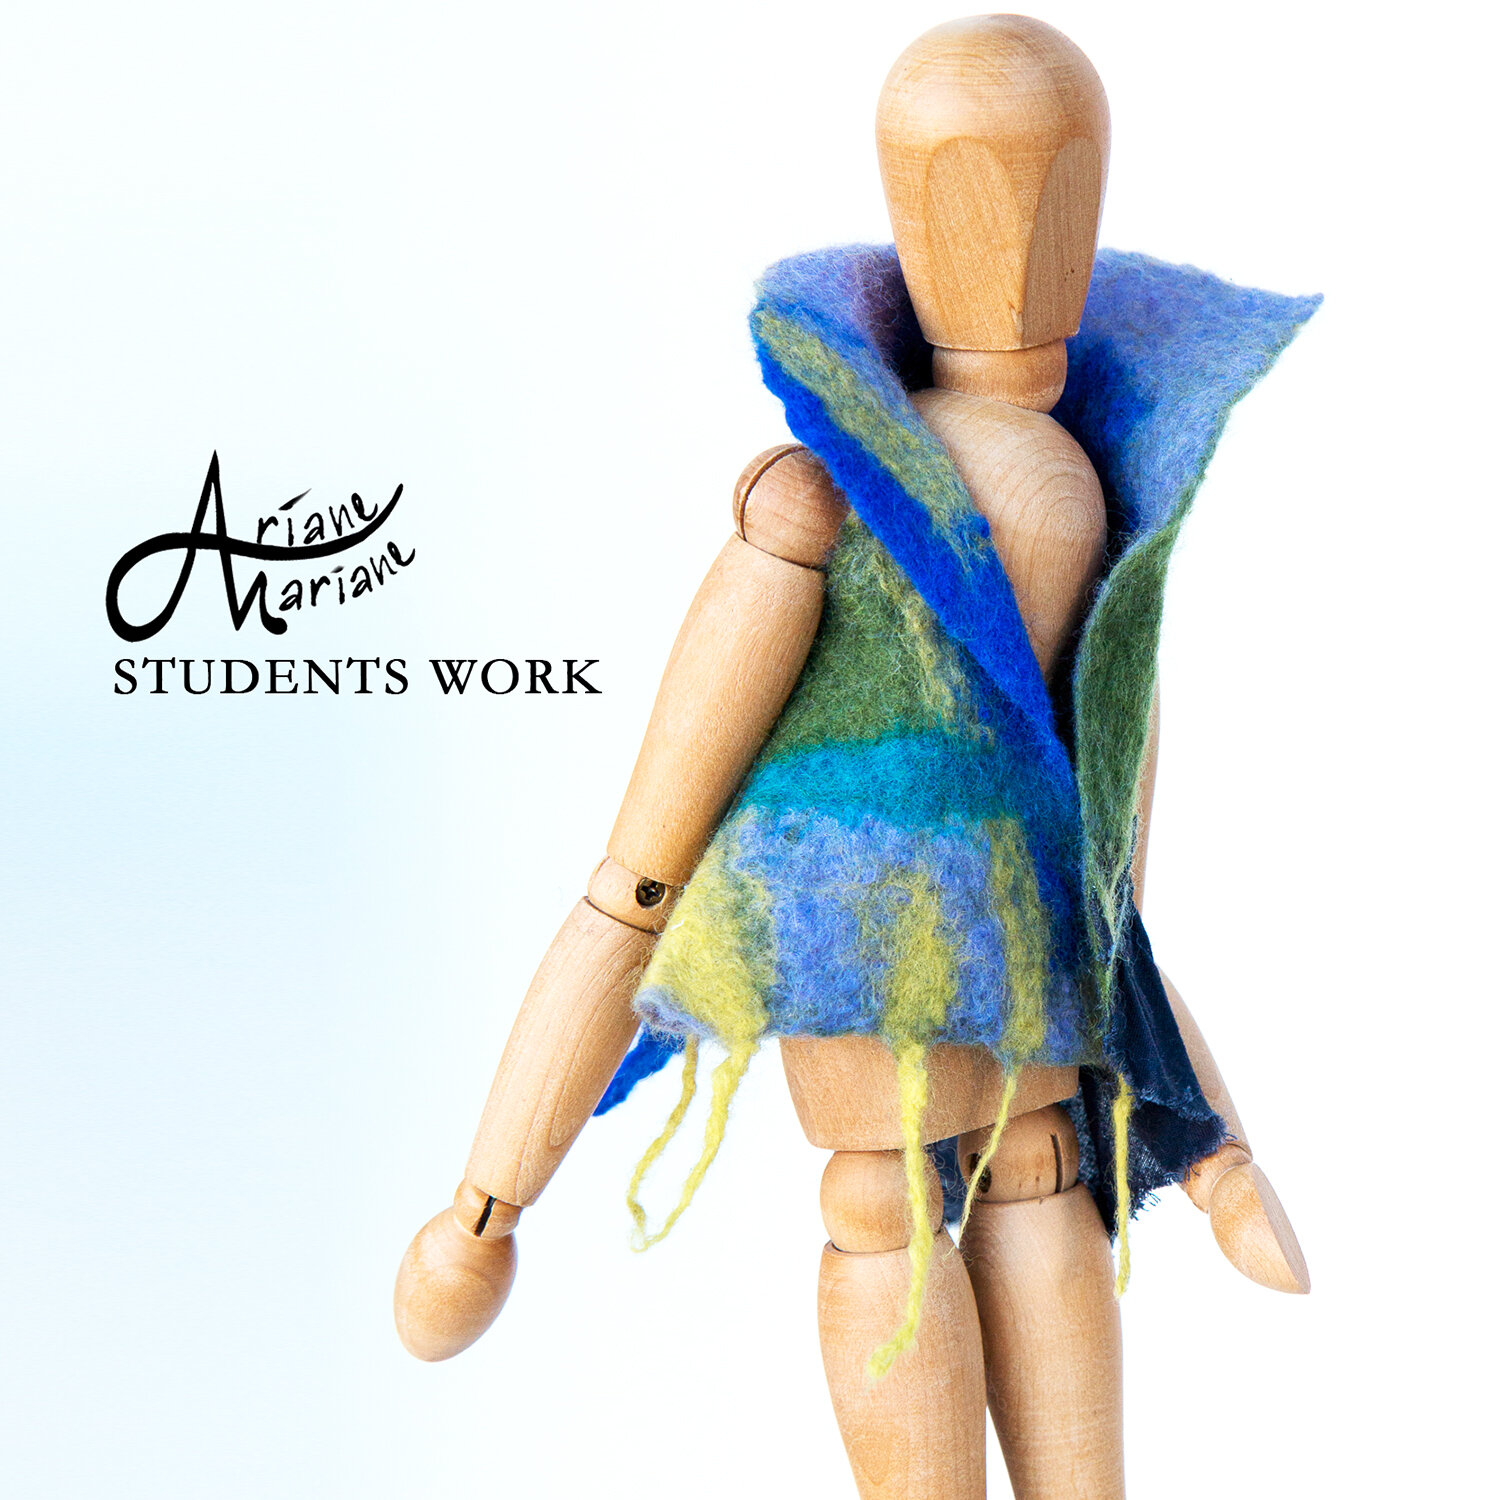
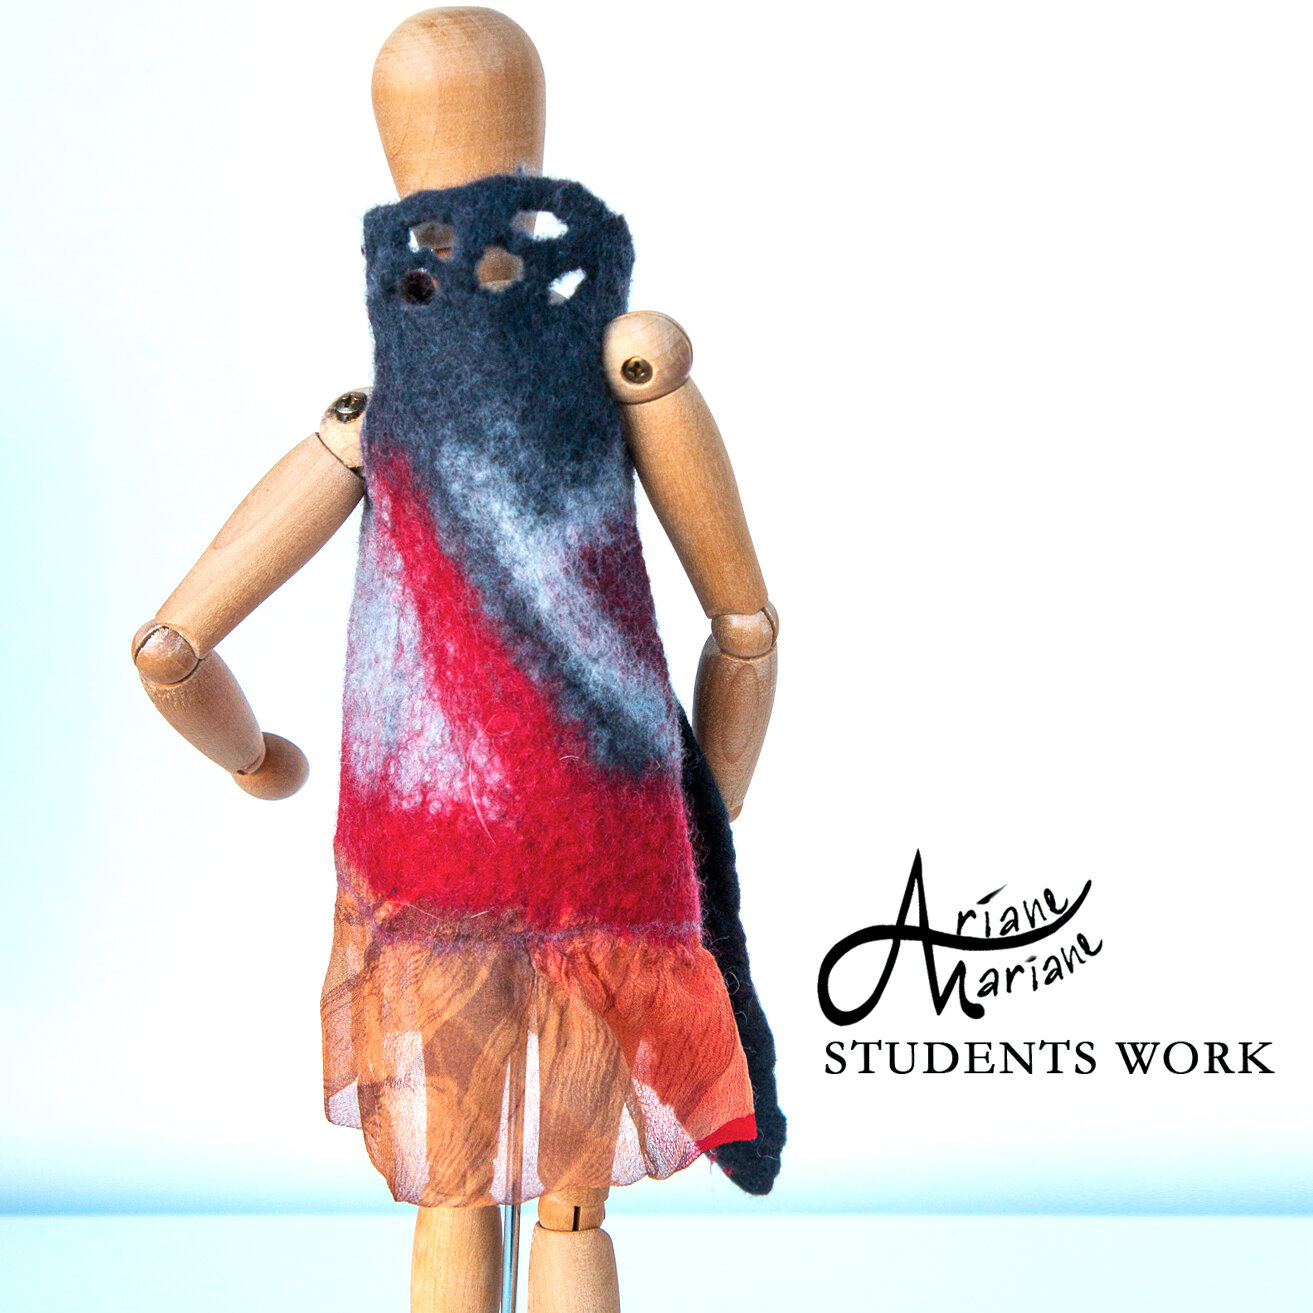
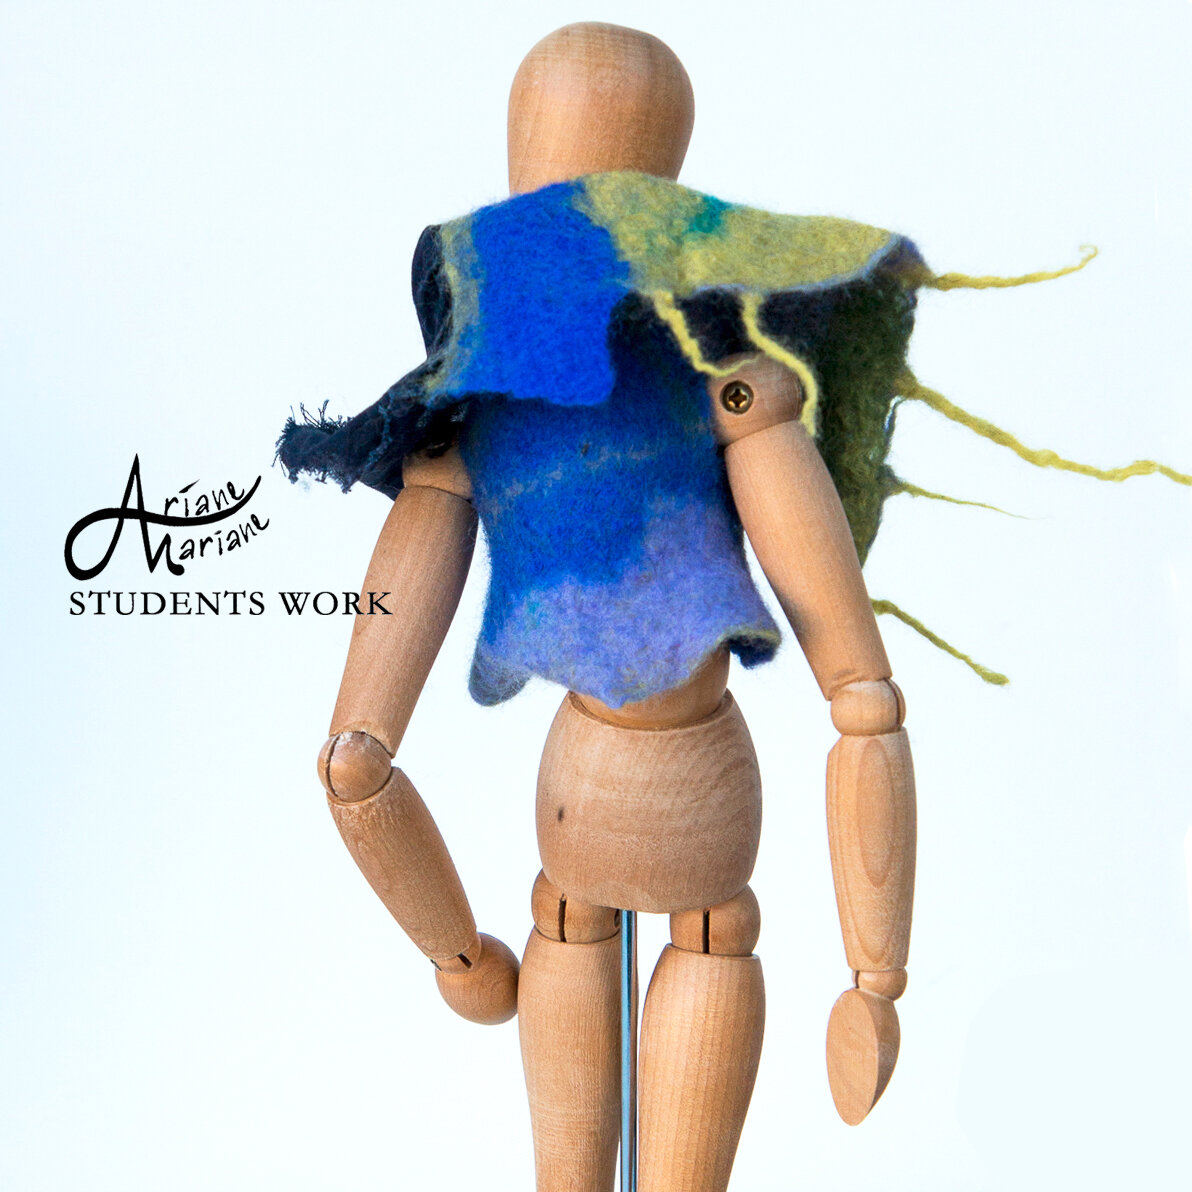
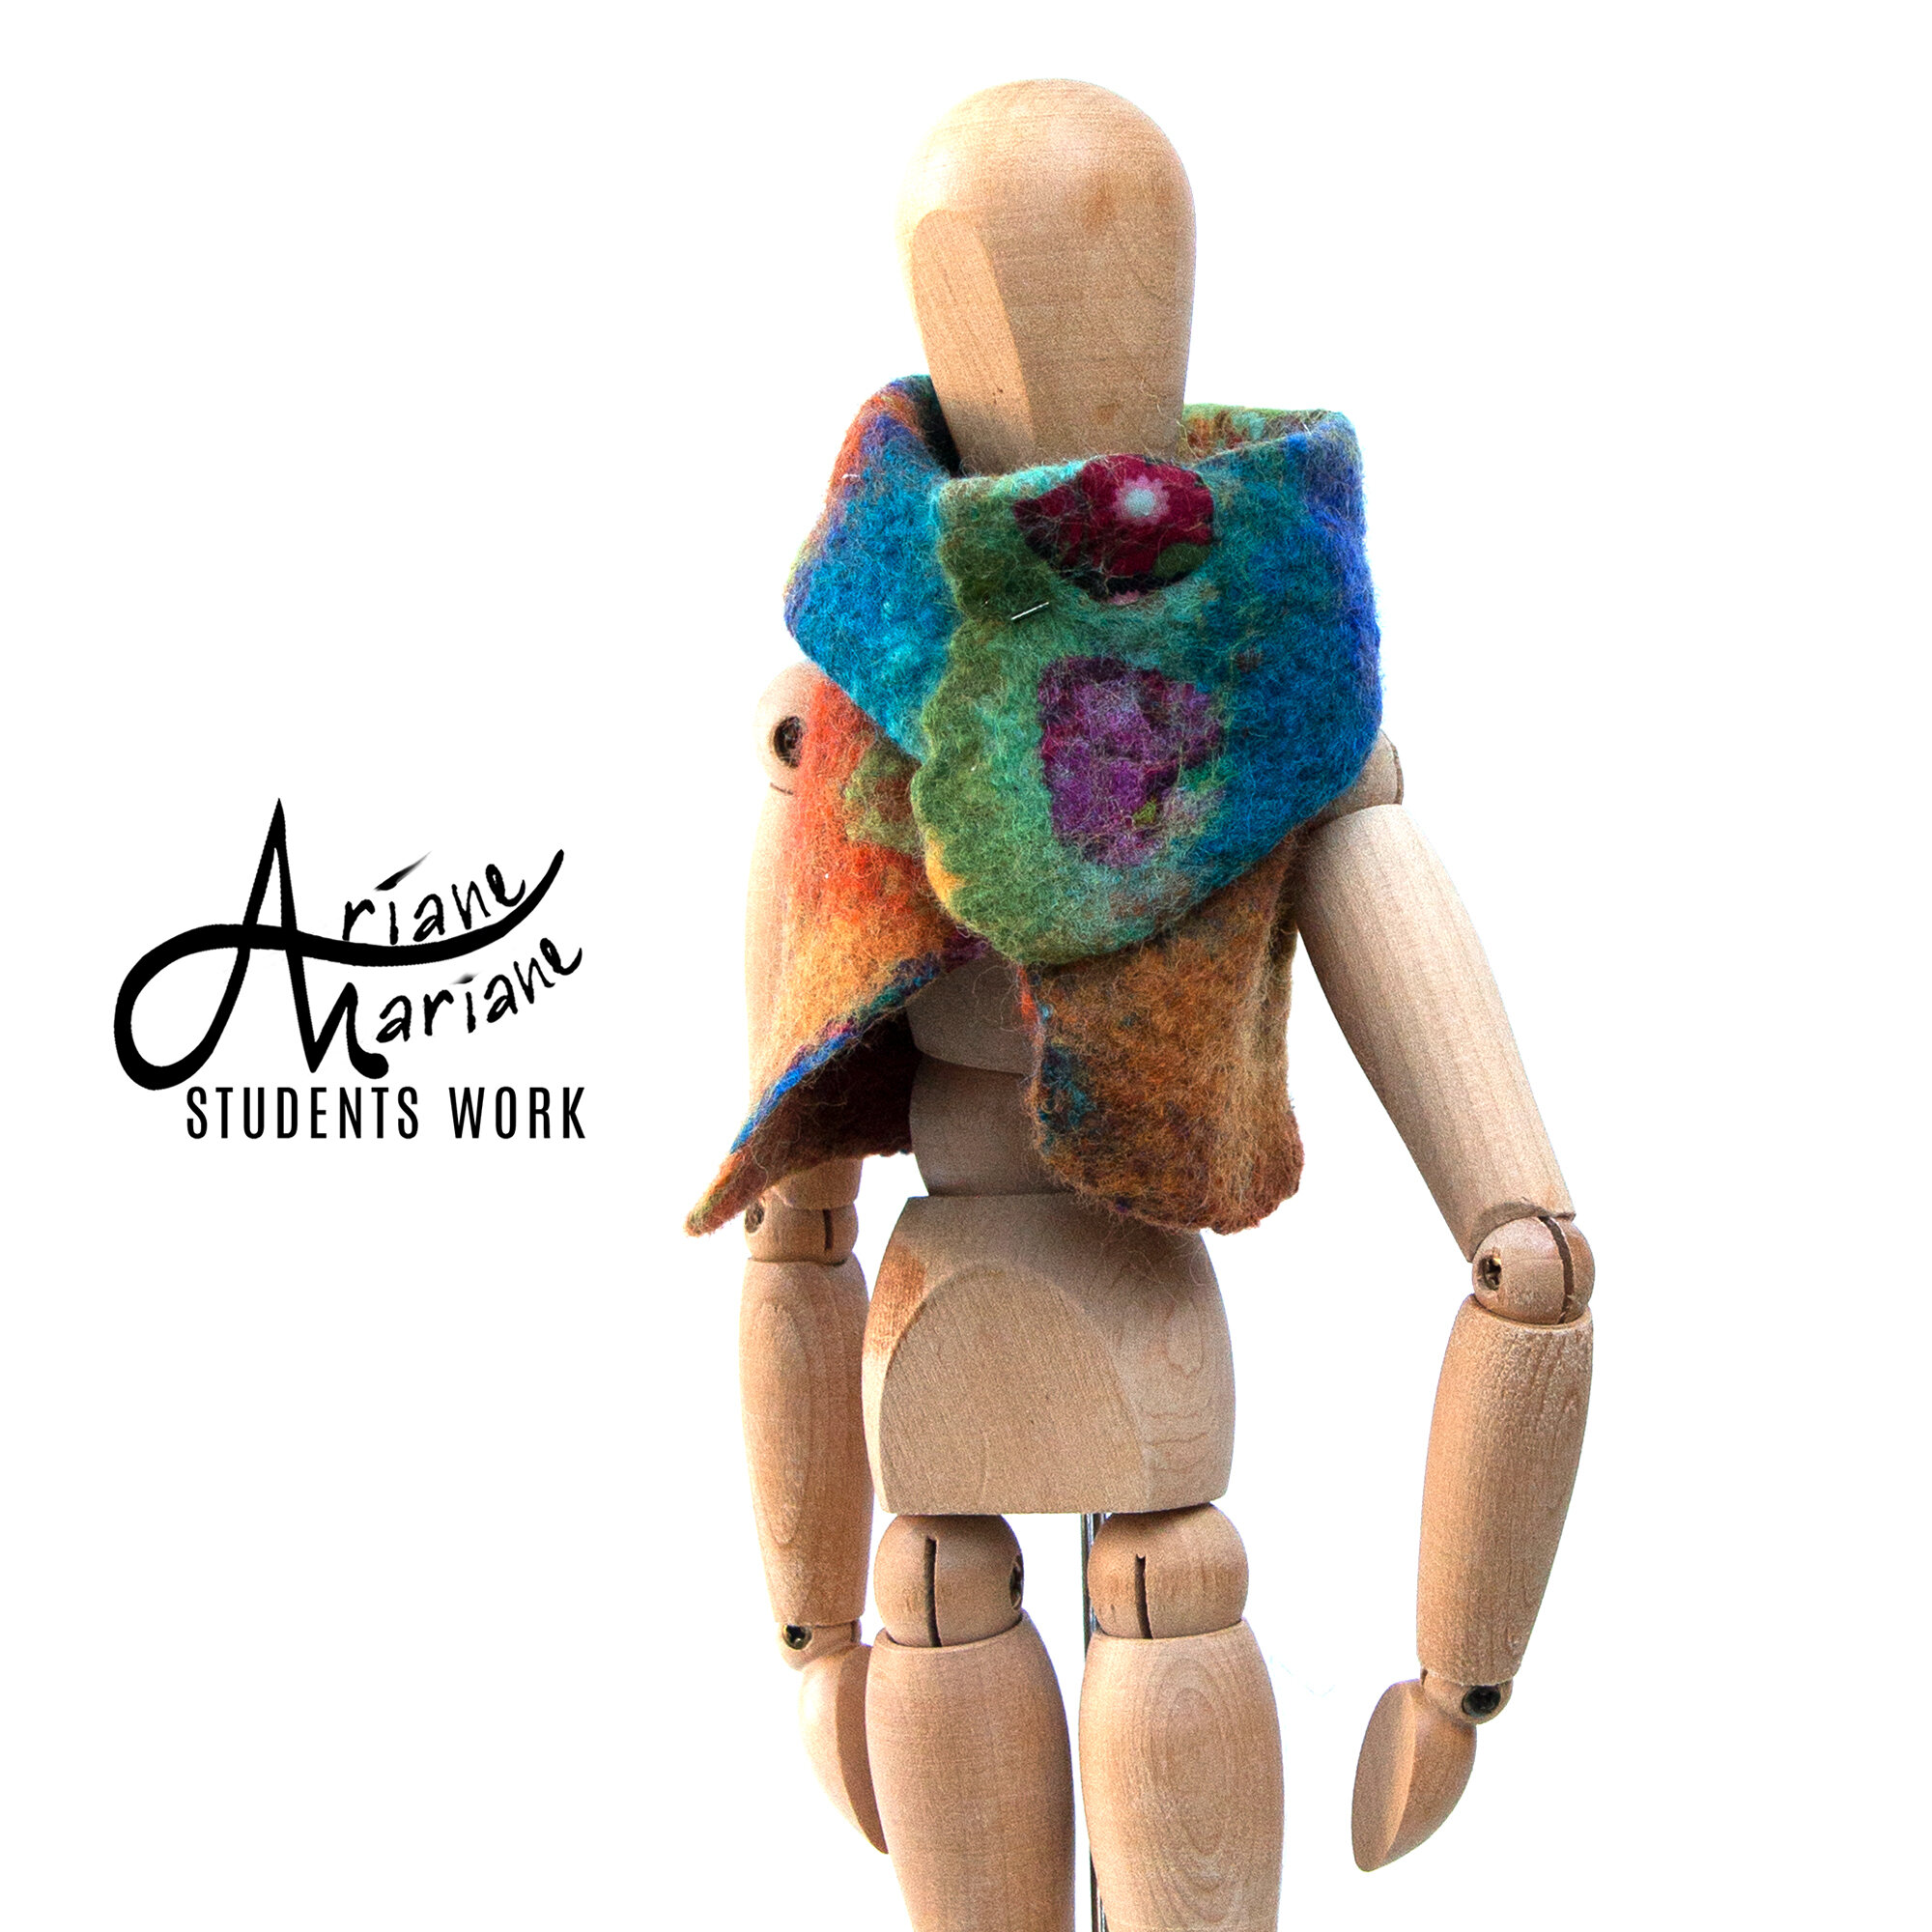
Masterclass to create an outstanding 4 in 1 art vest in a painterly style.
Level: Advanced
In this 4+1 days online workshop you’ll learn how to make a one of a kind, 4 in 1 art vest. Playful methods and detailed instructions will enable you to create your unique “picture to wear” and in the same time boosts your creativity to another level. A private Facebook group allows to exchange with class maids and former art vest studnets, show your work in porgress and ask questions.
Tueday : 9h30 am to 12h30 am
Wednesday : 9h30 am to 11h30
Thursday : 9h30 am to 11 am
Friday : 9h30 am to 10:30 am
+1 show and tell meeting scheduled by all participants the last day
Paris time! Calculate the time in your location with this handy time converter.
PRIZE : 350 €
Sign up tickets here
Sign up currently possible only for students on the waiting list.
Uniqueness & creativity
None of my art vest is similar to the next. Guided by the question “What if…?”, my approach is always process driven and very organic. I play with shapes, colors and pictorial design elements in a deliberated way. I see the process as a journey, an adventure. This allows me (most of the time) to find a unique treasure. My playful, experimental method alolws my creativity to flow easily. It made me the artist I am and allowed me to built my unique, recognizable style.
The goal of my classes is to show you a way to embrasse your unique creativity and to enable you to create high quality, artistique (wearable) art in your very own style.
instead of working on a given art vest template, I show you how to adapte basic shapes and invente your own.
What you will learn :
basic art vest shapes
transforming the basic art vest shapes and inventing new ones
prefelt making by hand or with help of a tumble dryer
fiber painting & collage techniques with fabric and paper to create pictorial surfaces
high quality felt making
shaping & adjusting an art vest for perfect fitting
trusting the process & finding your creative path
How this class is organized
The class is hold live on the meeting app Zoom and completed with handouts. All lessons will be recorded* and are accessible to the participants for at least 1 year on a private website. The recording allows you to review the class as many time as whished.
*Important: by signing in to this class you agree to be recorded! f you don’t agree, please contact me beforehand!
Why direct teaching instead of a recording only?
My teaching is similar to my creating: organic and process driven. I love the interactivity of sharing knowledge. There is a giving and taking and therefor it’s essential to me to feel the presence of the persons I teach! I tried to record my lessons but failed badly. When I I don’t know to whom I address my teaching I’m not inspired.
As in my art, not two classes are the same. You get a unique experience!
Another important reason is that I want you to finish your unique creation you do with me! May be it’s different for you but personally, when I buy a recorded lesson, I nearly never finish the project. Not because I’m not inspired or I don’t want to, but because as I have free access to the teaching when ever I wish and for the years to come! Being a busy person, l start the lesson and then I get absorbed in dialy routine, push the task along until I forget about it!
I know it may seem constraining to have to attempt a class on a certain time! Still it’s less time consuming than an “in location” workshop. You don’t have to travel and you can organize the “exercise time” in function of your needs and possibilities.
I see the live online teaching as a perfect mix of a “face-to-face” and a recorded workshop.
The most valuable argument for me for live online classes: Until now 99% of my online students finished their art work. This score is even higher than what I have experimented in classes hold in my studio and I’m very enthousiast about it! This is because online we have a larger time window. “In location” we have to make it in the 3 to 4 days of the class. In most of my online masterclasses II schedule a “vernissage” (or final meeting) within a week after the last session. This allows you to finish your work easily but it also sets a goal.
Step by step 4 days art vest program:
I encourage you to create the mini art vest on Day 1 live with me. All other lessons work best if you watch, take notes, ask question and realize the shown steps after the class.
Please be aware that you need at least ~3 to 4 hours on day 2 and 3 if you want to work with wool roving. If you prefer or haven’t enough time, please consider to work with prefelt.
Day 1 sampler making(~3h)
The first day we’ll make two mini art vests: one in a basic shape the second “free style”. This allows you to get an idea of the whole process. These samplers are also great to determine shrinkage and try out some design effects.
Some mini art vest made by my students
Day 2 (~2h) Composition side 1
Calculation and composition of side 1 with prefelt, fabrics, paper and fibers. Several approches of composition and different shapes will be demonstrated.
Day 3 (~1h30): Composition side 2
What makes my art vest special is that both sides are worked out with different design elements.
Day 4 (~1h): Finishing and forming
+ Extra meeting to tell and show
To finalize the workshop I offer the opportunity of a “vernissage” or final meeting within a week after the last session. You are invited to show your finished pieces, get and give feedback and ask questions.
The date will be scheduled together during the class in function of everyone’s calendar.
WHAT YOU NEED TO Take part in this class:
Most important: a good internet connection & a devise with camera and microphone.
You can follow the workshop on a telephone but it’s easier if you have a laptop or tablette.
At least basic felting skills are highly recommended to be able to follow this class!
Supplies:
a detailed list of supplies will be send to you as soon as I receive your booking.. Just to give you an idea :
~250 g of wool top (wool rooving) in 1-2 main colors or needle felt
kozo paper in differt colors
fabrics
bubble plastic
water
a sprinkler bottle
tafetta (dense woven synthetic fabric)
old towels
scissors
your usual felting tools (soap, sticks…)
Optional: tumble dryer


